Seasonal Camping Hacks
The RV lifestyle is a beautiful thing! Once you “join the club,” one can begin to experiment and add some interesting upgrades to your RV and site. By using the internet, ideas and hacks open up for you. There are so many sources for ideas, you don’t necessarily need to be creative yourself! Since becoming a seasonal camper, I have joined Facebook groups and internet forums to gain more information about my Jayco White Hawk Travel Trailer. I see what others do with their sites and connect to folks with similar interests. These sites are also a great way to tap into the experience and expertise of thousands of seasonal campers.
An advantage of the internet is that no matter what you are looking for, there is a group or a forum for you. I have found sources of information from general camping to sites specific to a particular brand of RV.
Here are my current go-to’s on Facebook:
You have heard of life hacks — tricks to use to do things better. Well, I have found some great seasonal camping hacks that make the experience even more enjoyable. Additionally, I have been able to personalize our RV and add to its functionality. In this and future blogs, I will share seasonal camping hacks.
The first hack that I came across was adding a drain hose to my hot water tank. Leaving water in the tank can sometimes lead to a rotten egg smell.
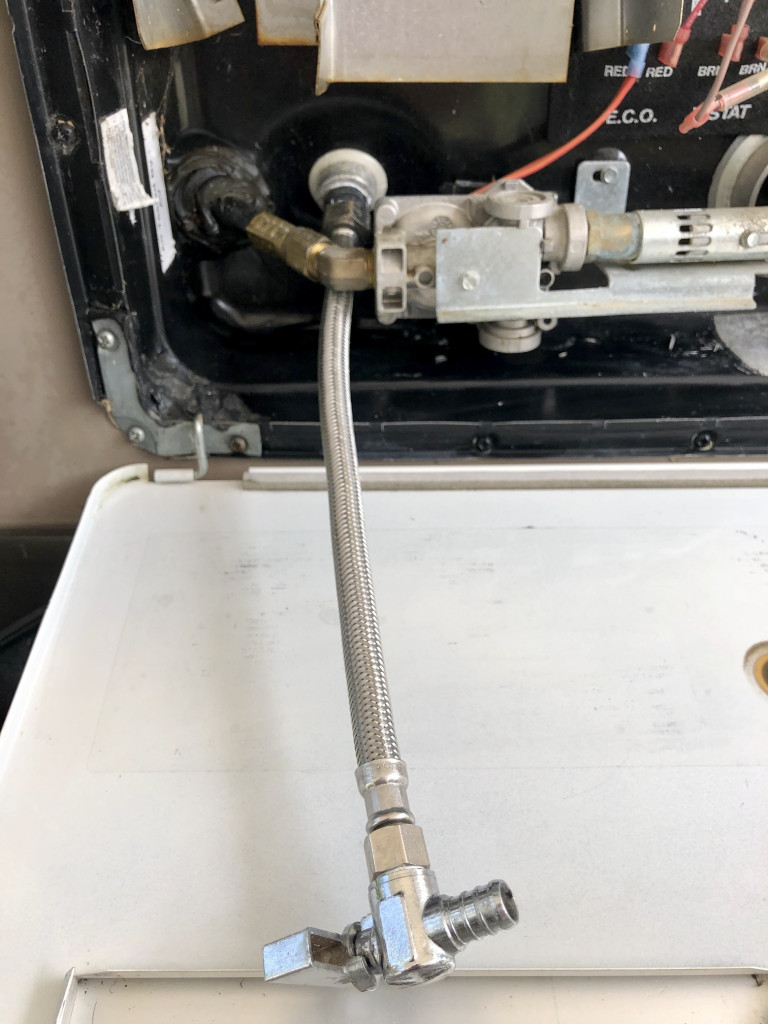
To avoid this, I always drain my tank after each stay. In some RVs, it is difficult to get at the drain plug.
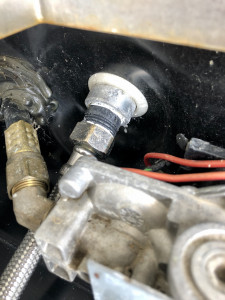
This hack begins with a 1/2 inch male/male threaded nipple (that screws into the tank), a braided hose (like the one on the back of a residential toilet), some thread tape and finally, a shut-off valve of some type. These parts are relatively inexpensive. Screw the three pieces together, and then into your tank drain plug opening. Now you will have an easy way to drain your tank without having to navigate the tight space in this area. Voila! It’s that simple.
(Note: Our Jayco White Hawk trailer is equipped with an Atwood Hot Water Heater System. The measurements listed relate to the Atwood product. I am aware that another popular choice for Hot Water Heater systems is Suburban which has a larger drain plug opening. Before purchasing parts to implement this hack confirm the type of water heater system you have so as to purchase the properly sized male/male threaded component)
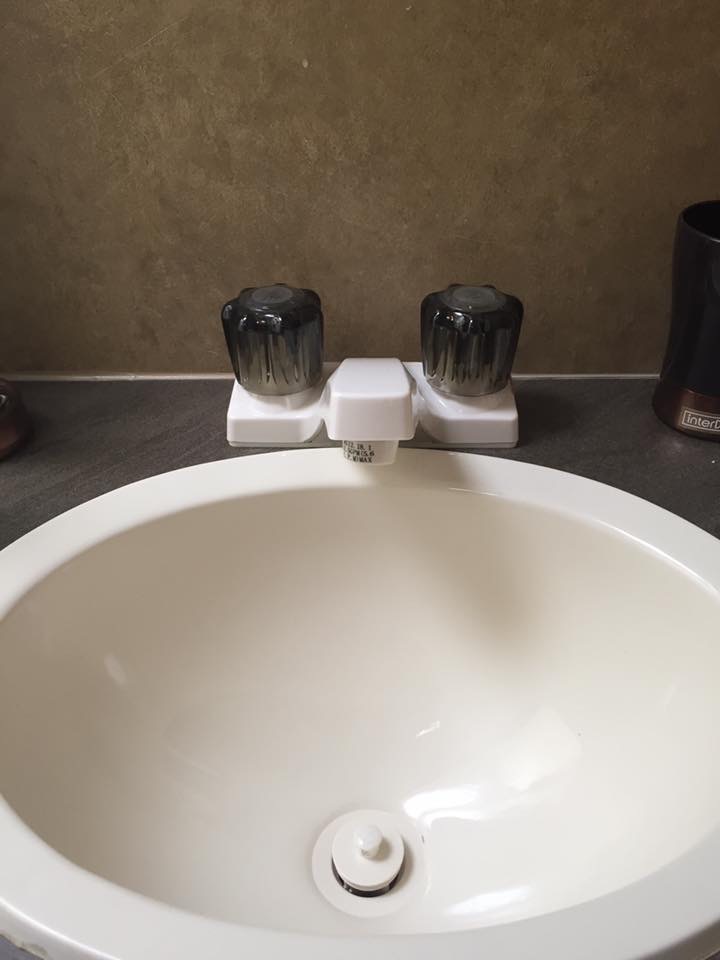
The second hack is one from the Jayco RV club forum I follow and I think it is “game-changer”. I switched our bathroom and kitchen faucets to residential versions.
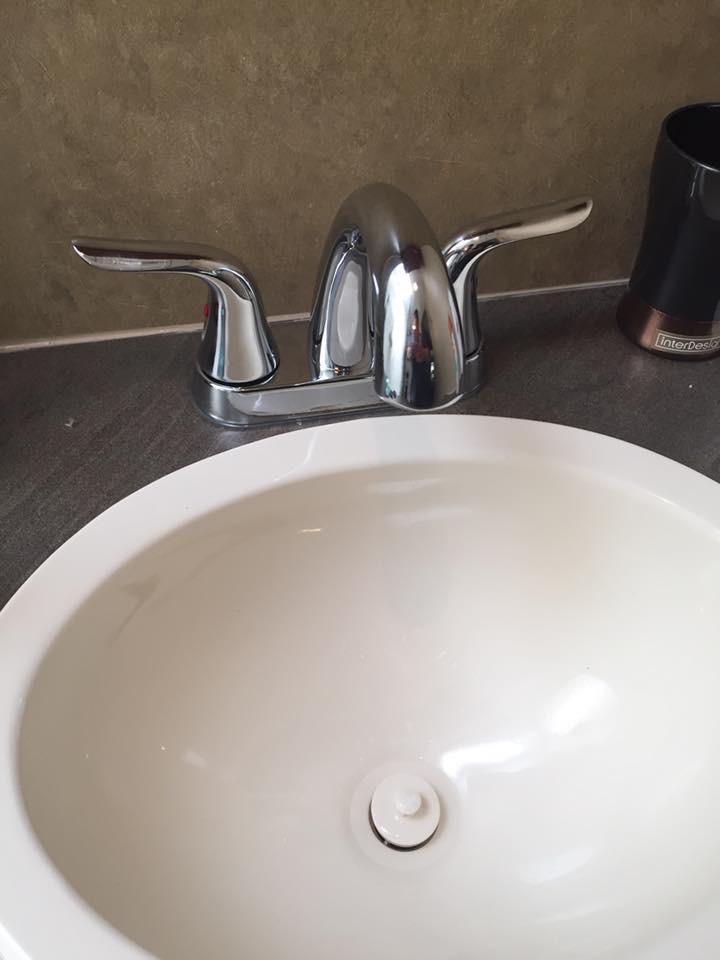
This allowed us to personalize our unit and add additional functionality. For the bathroom area we changed the faucet to a style with a longer neck. This change makes it easier to wash our hands. We also changed the color of the tap-set from the original cream color to a stainless style.
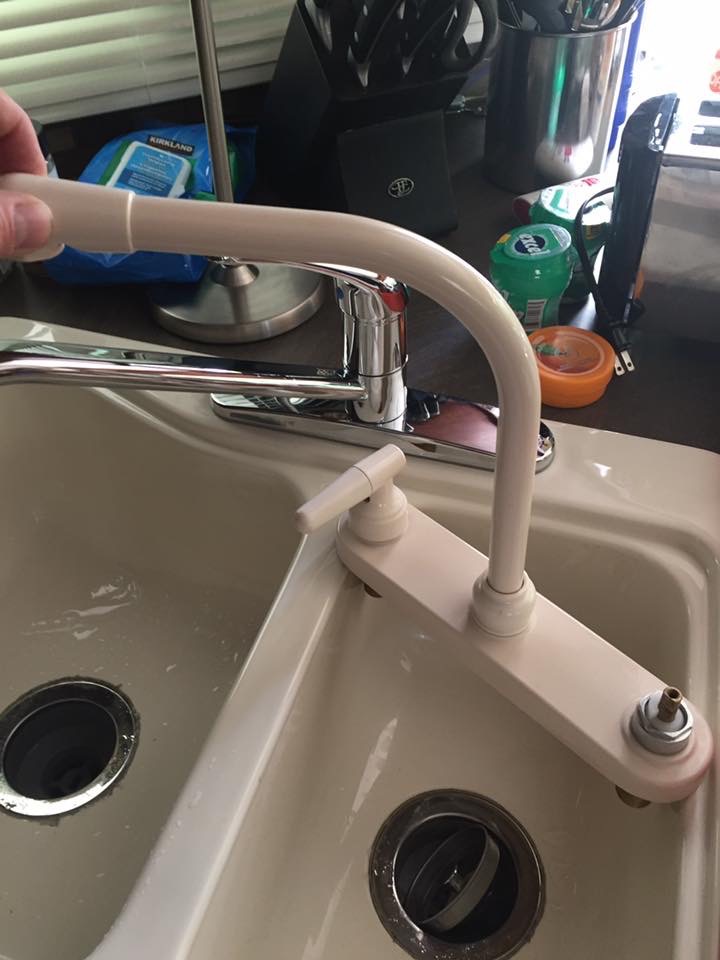
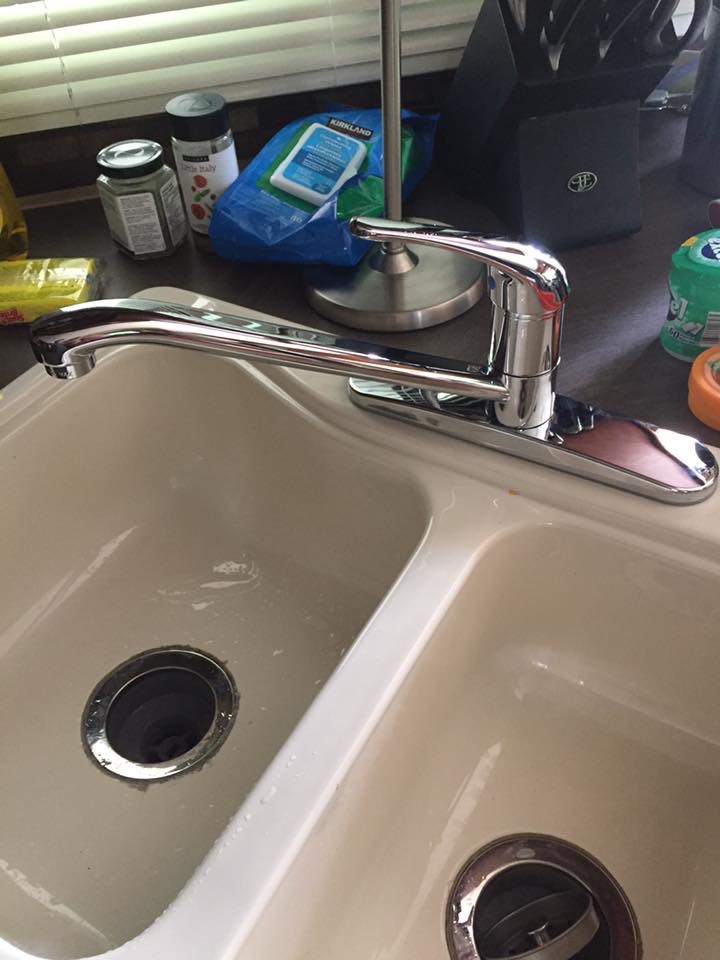
For the kitchen area we carried the same color scheme, as the bathroom area and changed the kitchen faucet to stainless steel as well.
As a personal preference we selected a single level operation style as opposed to individual taps. The installation for both changes was fairly straight-forward. I measured the distance between the centre of the far left and right holes. Mine were 4 inches apart (fairly common). We purchased new tap sets to match these measurements. Removal and installation was literally 10 minutes each faucet. No special tools or additional parts were needed, and you only need to be moderately handy… like me.
(Note: Where can you get the parts for these hacks? RV City is my choice for parts for my Jayco. They have a big selection of products for people like me who want to customize their units inside and out. I have also had success at my local hardware store for items that are more residential in nature.)
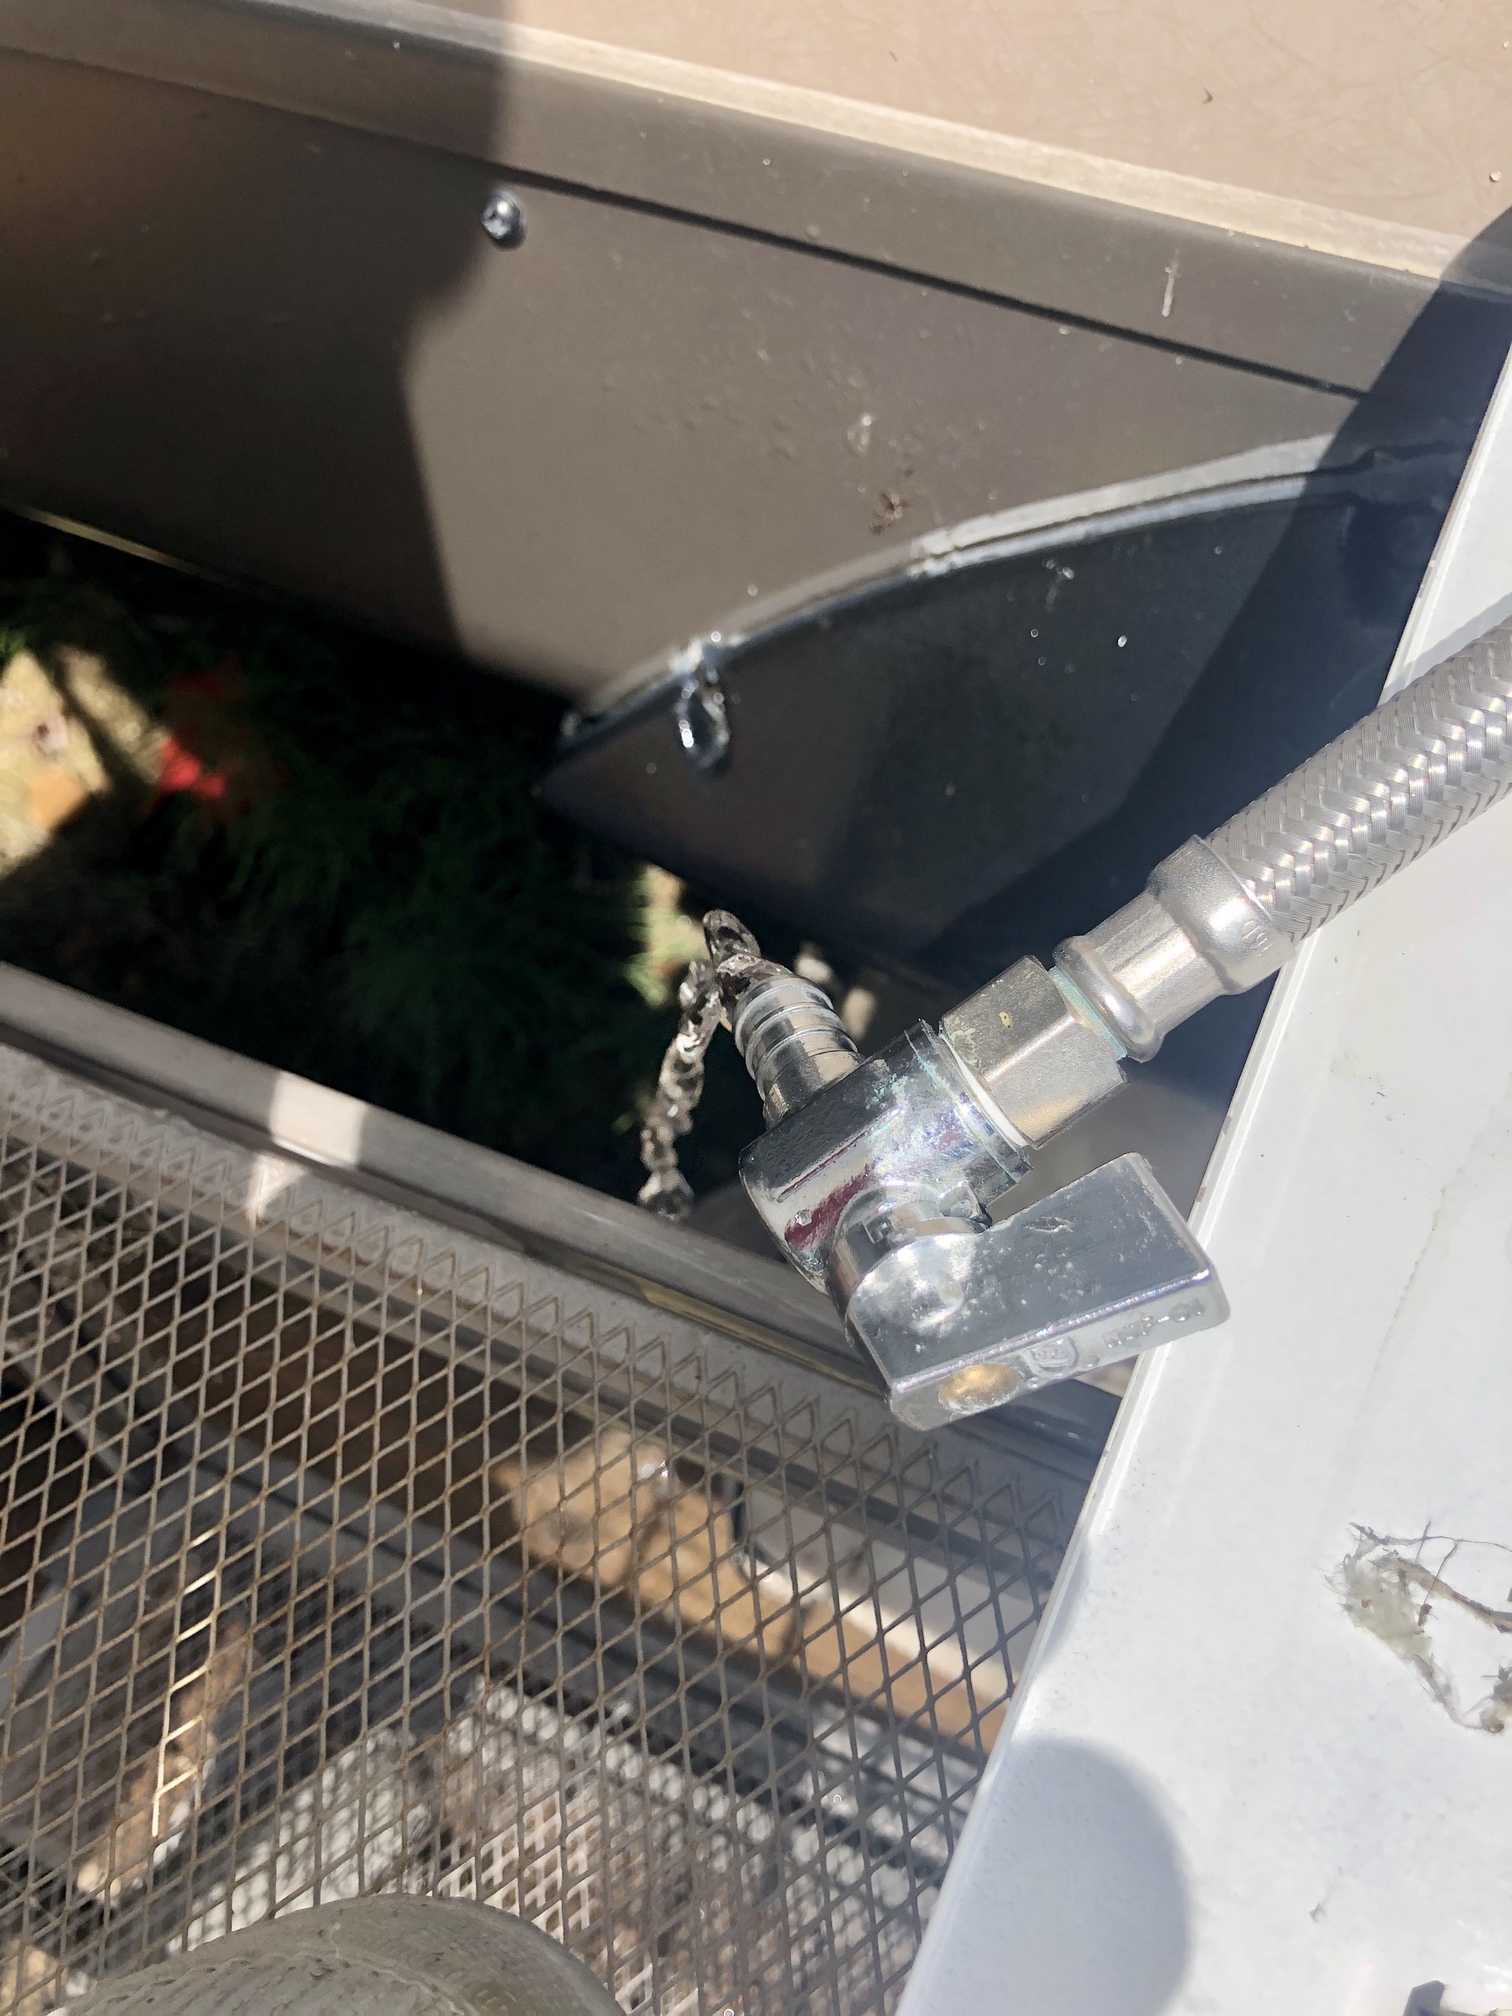
For the third hack in this edition, I want to share my absolute favorite: an outdoor concrete kitchen counter-top. This idea came from a fellow seasonal camper in our campground.
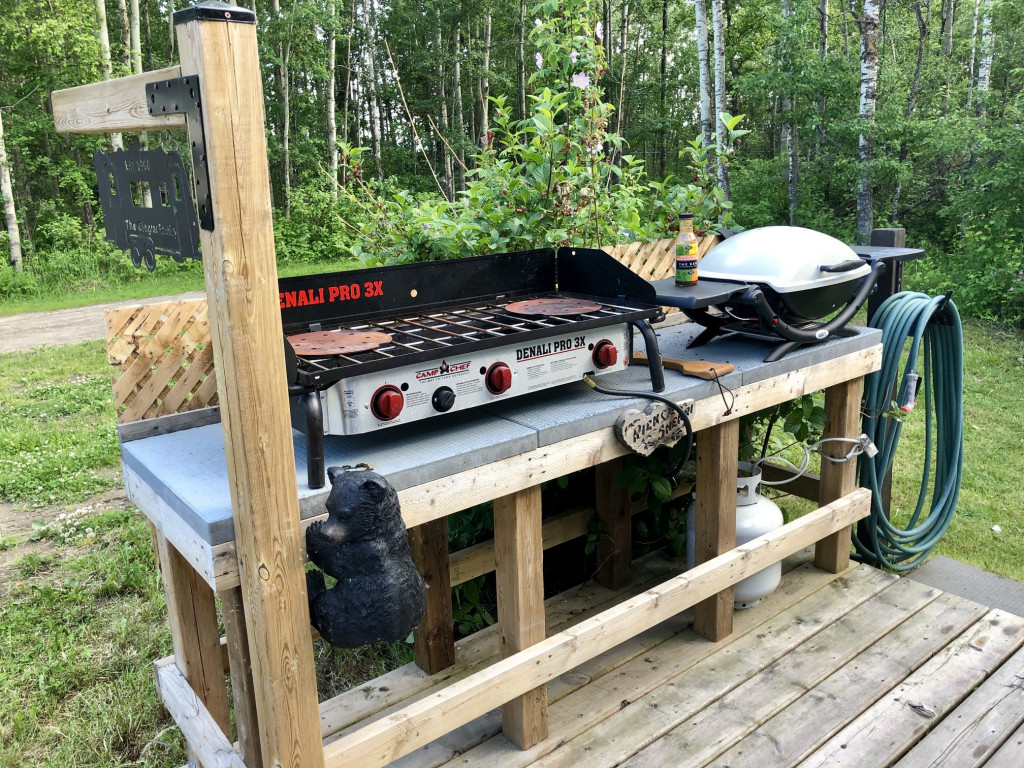
All it takes is building a frame and adding concrete sidewalk blocks for the counter-top. My frame was built from pressure treated 2”x 4”s with 4”x 4” posts to support the weight. I set up an area to tuck my propane tank under the counter-top, installed a T- style adapter with regulators to run the propane lines to my cook-top and BBQ and added a locking chain to secure the tank.The T-style adapter setup is super handy. I no longer need to change the propane tank hookup when I want to use the cook-top and/or the BBQ. The system is always ready to go when it’s time to prepare a meal or a quick snack. To finish off the outdoor concrete kitchen counter-top setup I added a bit of cedar lattice along with some personal touches. Now I rarely cook inside the unit.
(Note: The majority of the items for this hack are available at our local hardware store. For the propane T adapter and regulators the folks at RV City supplied these items. For the personalized items I will share where we got these in a future blog. The personalized name plates are great conversation starters and the BBQ bear is a story for a future blog.)
Stay tuned for future blogs for more hacks, product reviews, and the art of seasonal camping.